Related Articles
- Interior Design
- Interior Design
- Interior Design

Moving into a new home is exciting, but having to unpack towers of moving boxes can be stressful. This is especially true in spaces where functionality is important. How you organise your things will affect your experience in the room – like the kitchen.
Rather than bending your brain to come up with the best method for organising your kitchen, there are a few simple ideas you can follow to arrange your cupboards and drawers in a way that will work best for you.
Before you start unpacking, you’ll want to ensure that your kitchen is shipshape and shining. Home construction is a dusty business, so even if your home was built for you, the kitchen will likely need to be cleaned.
Grab your favourite kitchen cleaner and a couple of washcloths and wipe down all the surfaces. Remember to pay special attention to all of the areas where you’ll be putting your things:
Moving around your kitchen while you’re cleaning it offers the added benefit of allowing you to see exactly how big each cupboard and drawer is – and think about what you could use it for.

Now that you’ve spent a little time getting to know your space, you’re in a good position to think about where you’ll put all of your things.
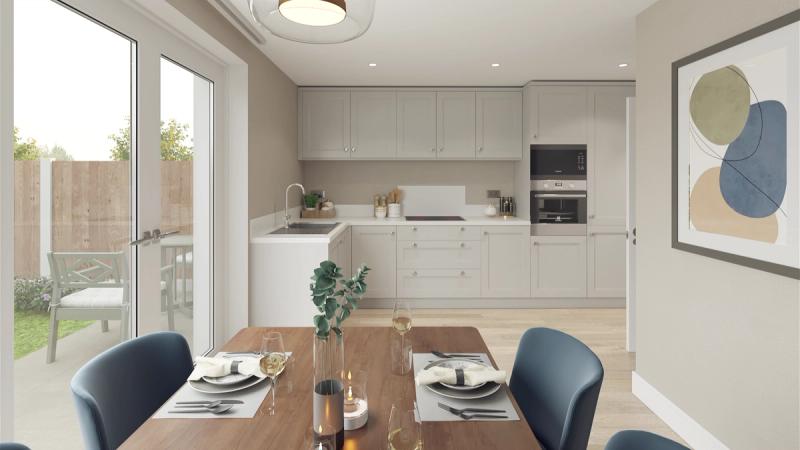
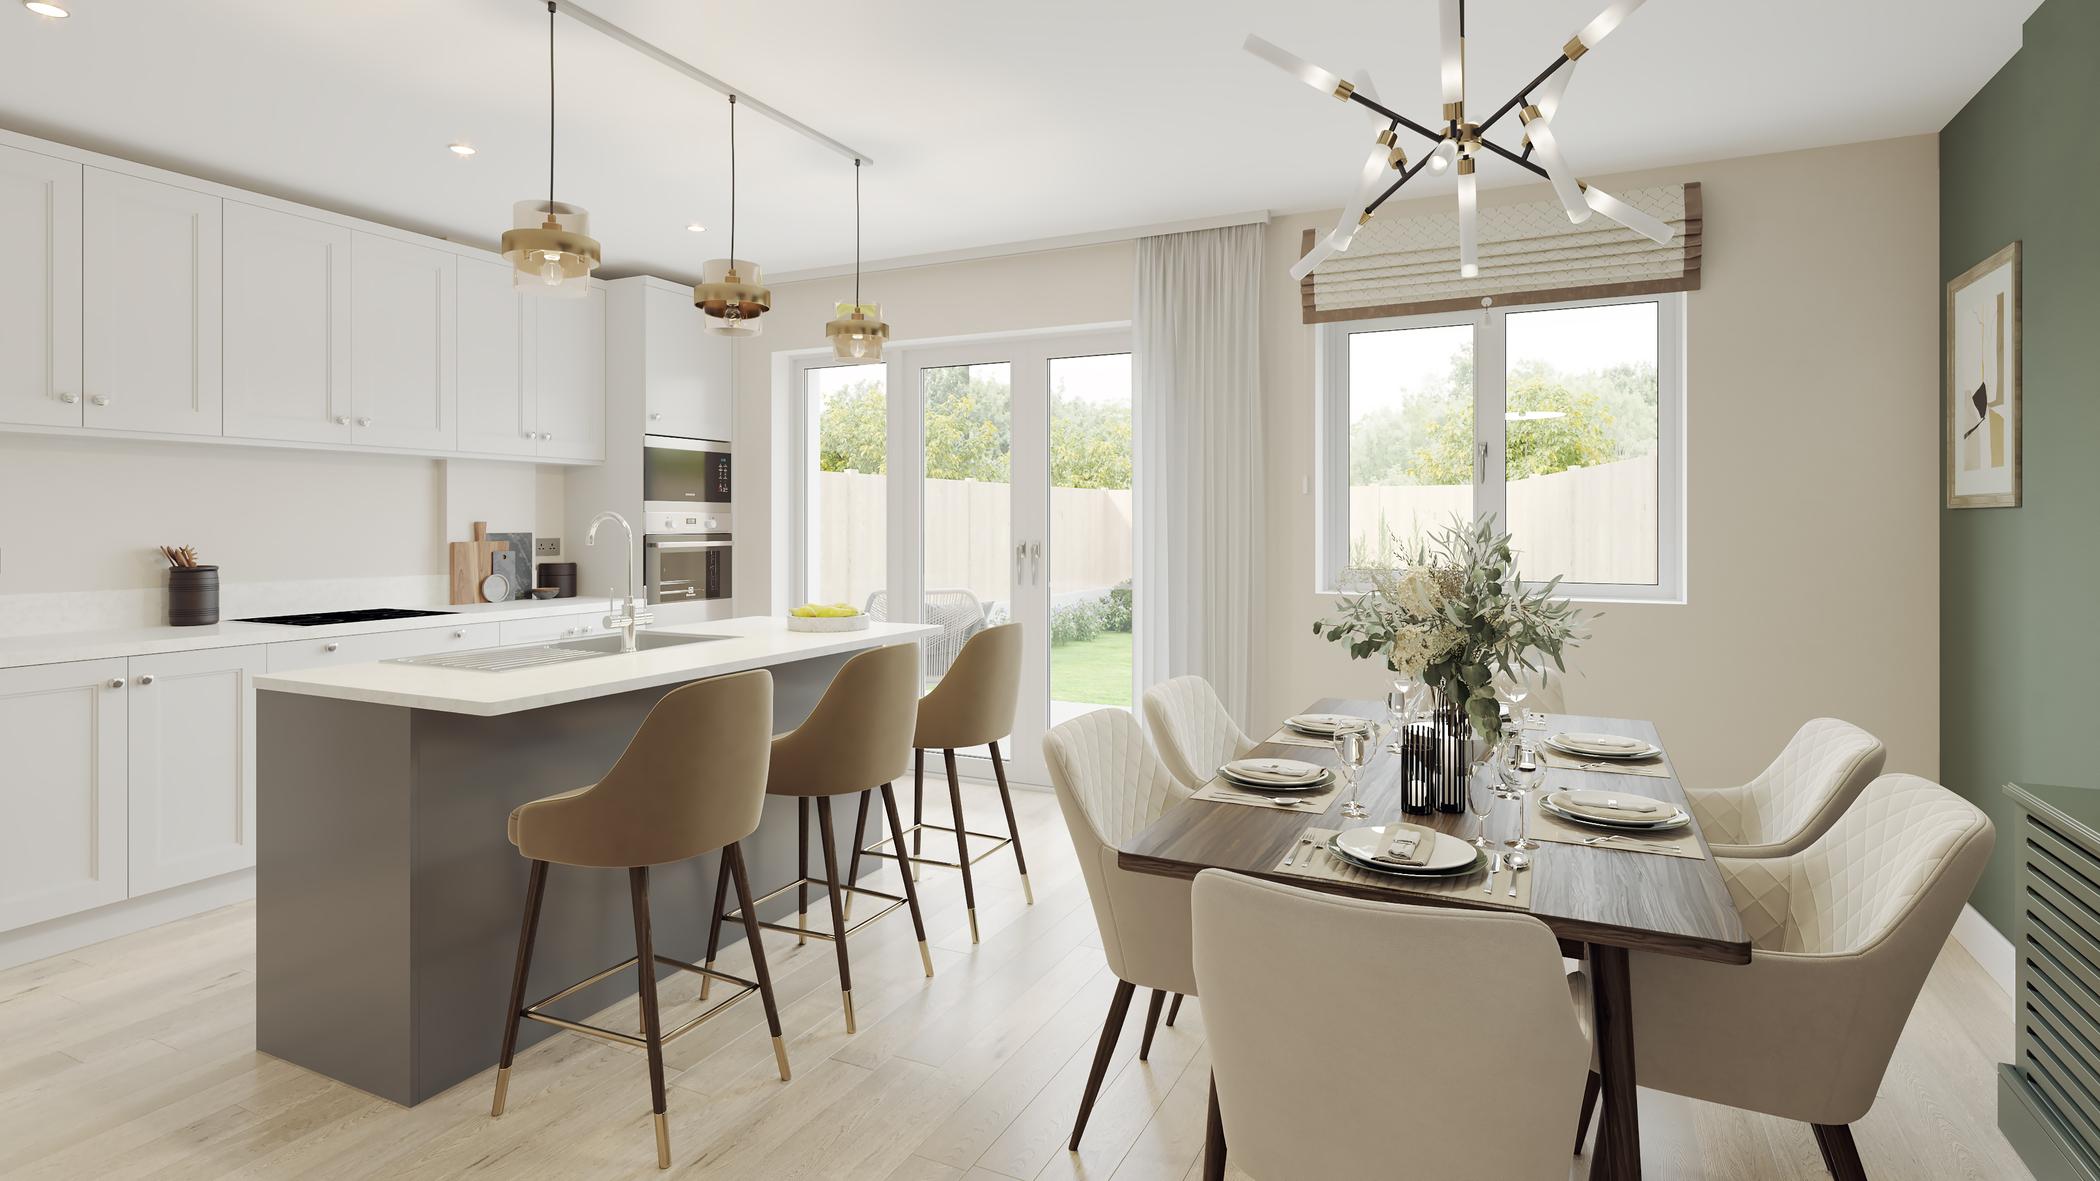
As far as kitchen design ideas go, dividing your kitchen into different work zones is a great way to ensure that it’s organised and functional when you start using it.
There are three main spaces you’ll want to create: preparation, cooking, and serving. Providing space for each of these activities will prevent having too much traffic in each area at any one time and will ensure that you have everything you need to execute the tasks you’ll do in those zones.
The rule of thumb here is to ensure that everything in a particular zone is within arm’s reach when you’re working in it.
This is the area where you’ll chop, cut, and peel all of the components of your meal to get them ready to cook. It’s useful to reserve an area near your fridge and pantry, as you’ll be accessing these areas as you prepare your food.
There should be drawers equipped with organisers to keep all of your utensils (think knives, measuring cups and spoons, spatulas, and other tools) as well as cupboards with amply spaced shelving for mixing bowls and other equipment. Also, be sure to reserve enough cupboard space for the appliances you don't use on a daily basis.
Located alongside your prep area, the cooking zone is where you’ll cook your food. This zone will include the oven and stove. Other appliances, like the microwave, air fryer, rice cooker, and kettle will be stored here too. But remember: keep only the essentials on the counter and pack everything else away.
The cooking top will take up most of the space in the cooking zone, but you’ll want space on either side of the stove where you can place your prepped food for cooking.
Also dedicate a few drawers and cupboards in the area to store common utensils, equipment, and foodstuffs like:
Once you’ve prepped and cooked your food, you’ll want to serve your meals. To do that, you’ll need things like plates, bowls, serving utensils, glassware, and cutlery.
Drawers are first prize in this area as they allow easy access to these items and make them easier to organise. Cupboards work well, too. Just grab some stackers for inside your cabinets to maximise space.
This will likely be near your kitchen nook, breakfast counter, or the transitional area between the kitchen and dining room. Thinking about where you’ll place all of the essential furniture for your kitchen will help you to find the right spot.
When you know where your prepping, cooking, and serving equipment will go, it’s time to gather the items you’ll use to organise it. Adding extra storage and organisation is a kitchen DIY project that will make your space feel customised, too.
It’s finally time to gather your kitchen boxes and start unpacking. Position your boxes in the areas where their contents will be stored (it helps to write detailed labels when you’re packing) to prevent unnecessary clutter in the zone where you’re working.
The unpacking stage is a great time to do some cleaning and decluttering too – if you didn’t do this when you loaded your boxes in your previous home:
As with any space, once you’ve used your kitchen for a few days or weeks, you’ll have a better idea of what works best for your specific cooking, serving and eating routine.
Perhaps you find that your plates work better on an eye-level shelf than in a drawer. Or maybe there isn’t enough space in the cupboard you dedicated to your appliances. Knowing how you use your space will help you to optimise your kitchen organisation in a way that works best for you and your family.
Once your organisation is optimised and your new kitchen is completely functional, you can add some personality to the space with kitchen décor like art, edible potted plants, and decorative bowls.
Some items you could use to decorate your space include:
Get helpful hints and tips for making your new house a home from the minute you move in. Glenveagh's content hub has a host of useful resources to help you do everything from organise your kitchen to help you create a functional home office.